Before installing ONE, verify the current firmware version, perform a full factory reset, and remove the SD card. Then proceed with the instructions below.
IMPORTANT: After ONE is installed, do not update the controller using DJI Assistant 2, a manual file, or through DJI Fly / DJI Pilot 2 under any circumstances due to this will break the system.
Video guide
To register and flash the controller, purchase 1 CTK via our bot @circle_os_store_bot — the CTK balance will update automatically in Companion.
After that, connect the controller to your PC (make sure the battery is 100% charged). After the controller loads, wait about 1 minute, then click the “Register” button and deduct 1 CTK to register this controller.
After that, connect the controller to your PC (make sure the battery is 100% charged). After the controller loads, wait about 1 minute, then click the “Register” button and deduct 1 CTK to register this controller.

Click the “Install” button to download the necessary installation files to your computer.
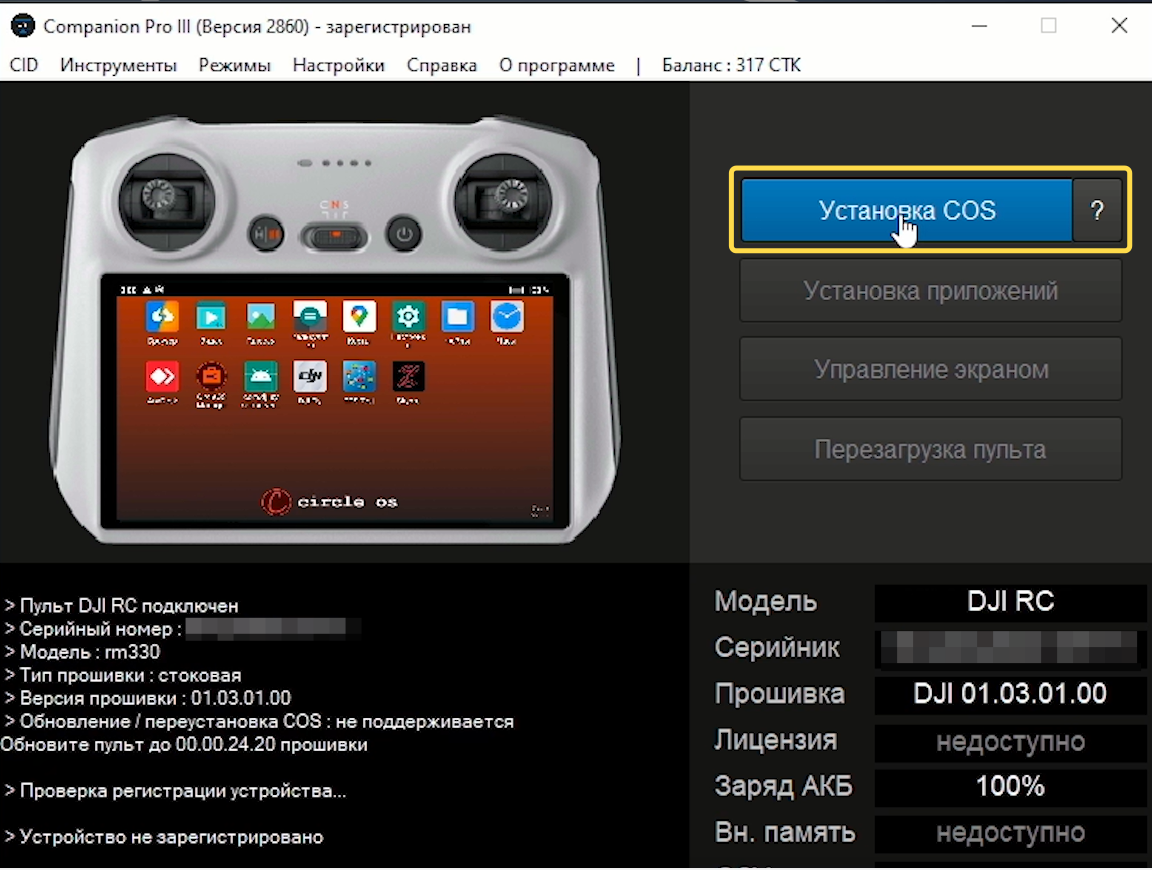
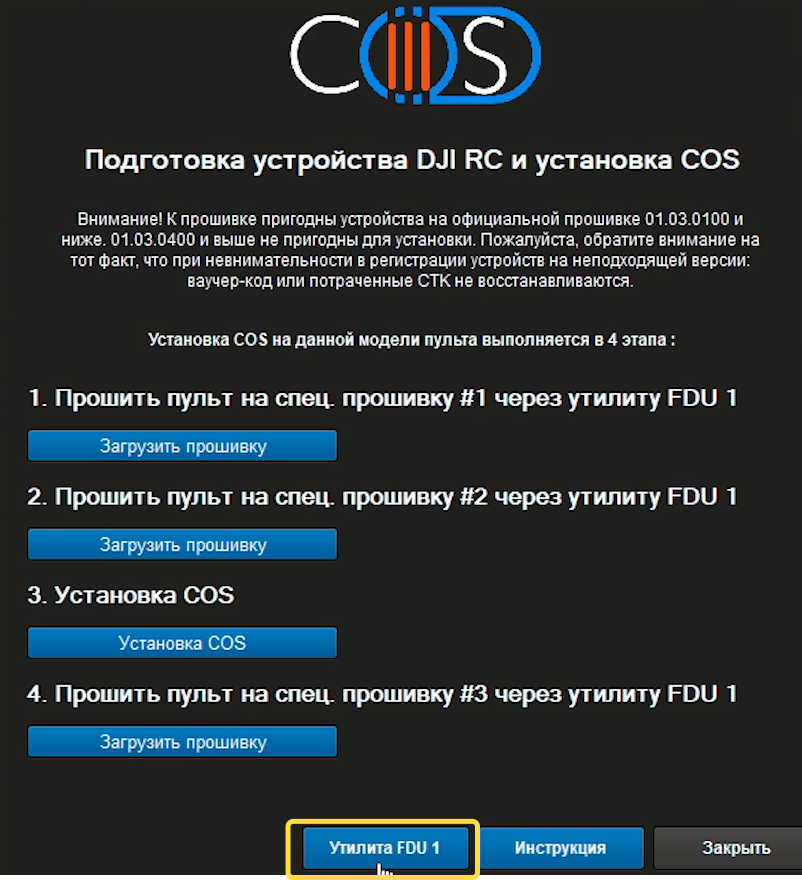
After the files finish downloading, launch FDU by clicking the “FDU Utility” button.
In the window that appears, select the FDU_1 firmware file by clicking the “SelectFW” button.
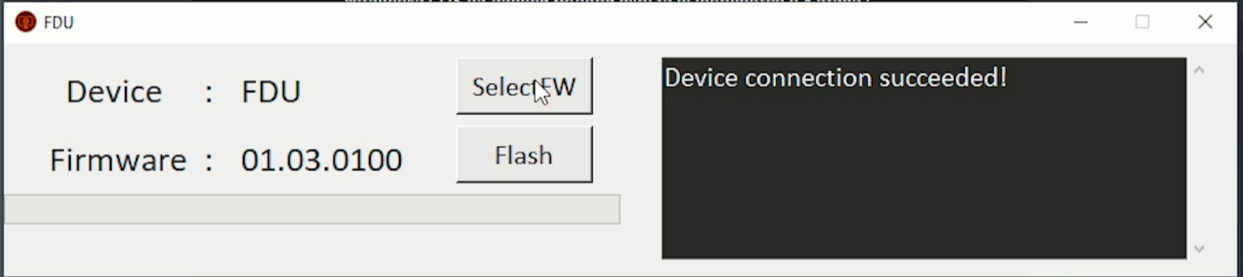
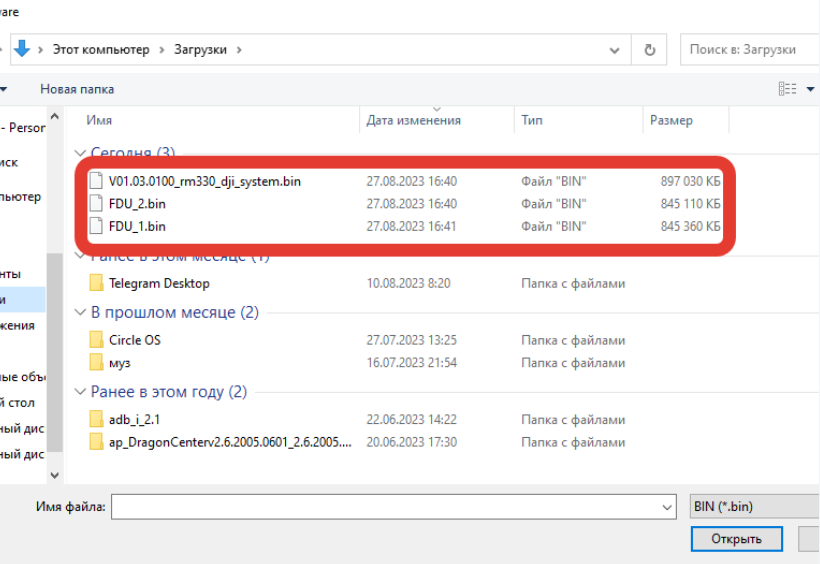
After a pause of approximately 30 seconds, initiate the programming sequence by clicking the "Flash" button, then wait for the process to finish completely.
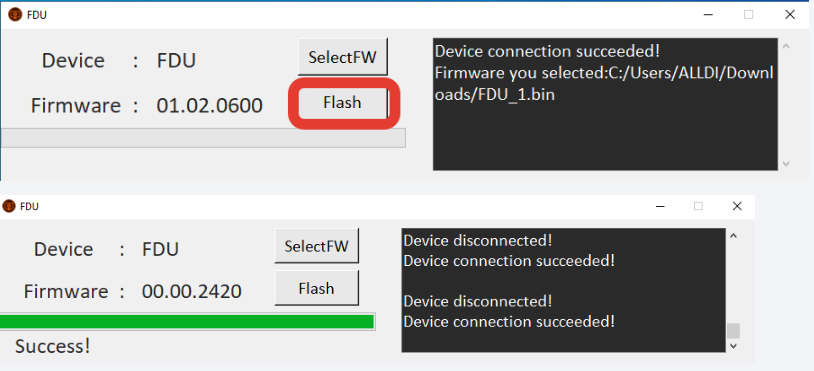
If the flashing process hangs at “Upgrade 3 (4)”:
After the initial flashing process finishes, return to the FDU utility. Click "Select FW" again, choose the FDU_2 firmware file, and press "Flash". Wait for this operation to complete
- Disconnect the cable, turn off the controller, and close FDU.
- Turn on the controller and wait 30 seconds.
- Reconnect the controller to your PC.
- Restart the flashing process in FDU.
- If the issue reoccurs, restart the entire troubleshooting sequence from Step 1.
After the initial flashing process finishes, return to the FDU utility. Click "Select FW" again, choose the FDU_2 firmware file, and press "Flash". Wait for this operation to complete
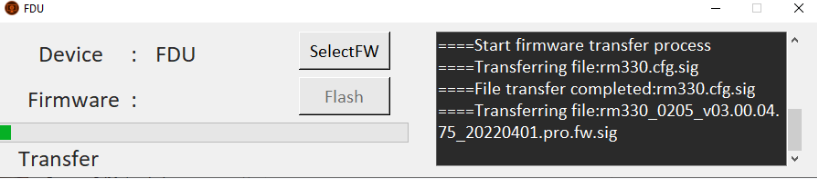
Once finished, close the FDU application. In the main Companion window, click the "Install" button to begin the ONE system installation. Wait for this installation to complete.
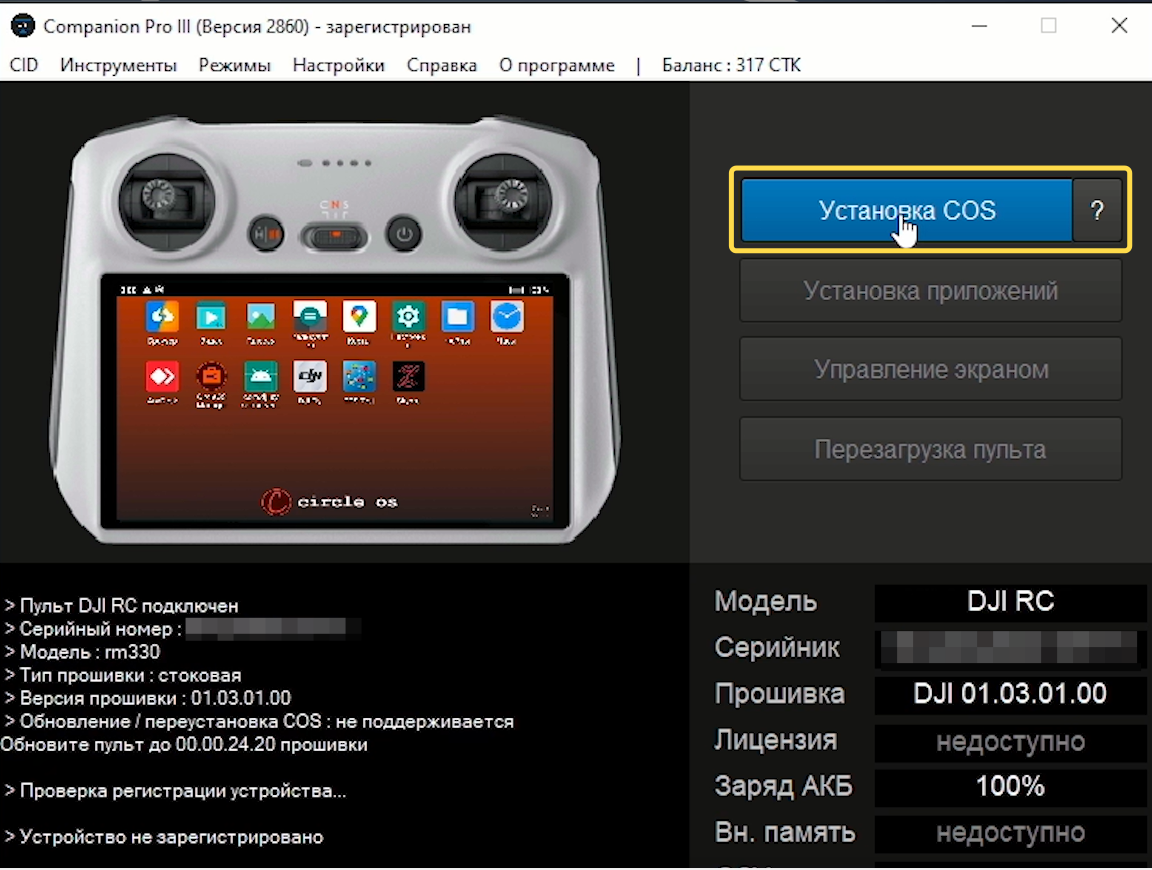
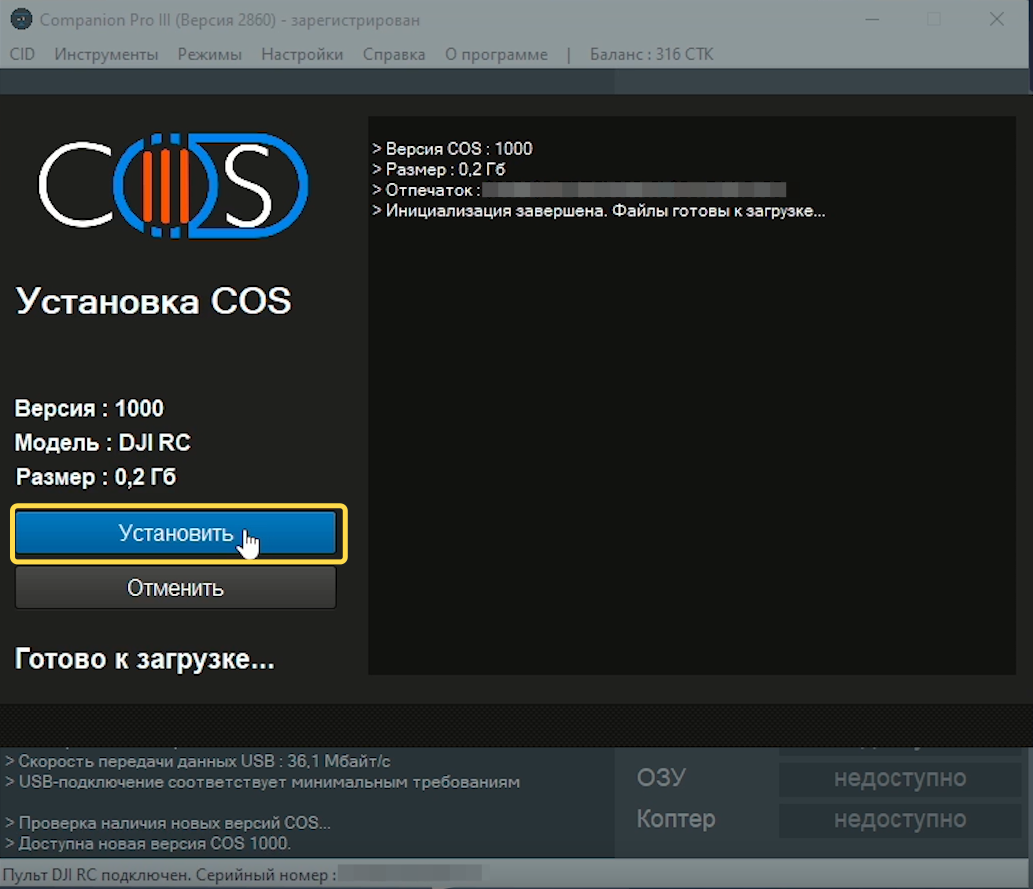
After ONE is installed, launch the FDU firmware updater again:
- Select the FDU_3 firmware file.
- Click "Flash" and wait for the process to finish.
- The installation is now complete, and your system is ready for use.